Video is a great way to communicate. It’s quick, sets the tone, and triggers emotional responses with your viewer. It’s why YouTube is the second biggest search engine in the world!
In B2B SaaS marketing, video case studies are excellent at helping customers choose your product over your competitors. Why? For many reasons, but some of the key points are that buyers want an easy way to evaluate the solution they’re researching, they want to validate their buying decisions by hearing from others, and they are increasingly wanting to validate their decision making without a speaking to a sales person.
There are billion dollar business models built on providing marketplaces that harness customer reviews. Here are the top B2B SaaS customer review websites:
Enough about the why, let’s talk about the how. These days you can outsource your video case study project to a plethora of agencies and videographers that can do the heavy lifting. But it’s still important to know what the process is like so you know what to expect. Plus, if you’re at the stage where contracting this work is not part of the budget, it’s a great project that you and your team can put together.
Best Cameras for Shooting a Video Case Study
Mainstream DSLRs do a great job at capturing video at a high enough quality for a simple case study. Heck, let’s be honest, smart phones are good enough to capture great quality video these days. The key is having enough control to adjust the camera to get the right look and feel that you’re going for.
In our shoot, we used three cameras, and they were all different. It’s best to use the same type of camera so that when editing, you won’t have to make a bunch of adjustments to make the footage look consistent. But since we’re putting this together on a budget, our personal DSLRs did the trick.
- Canon Rebel T6i
- Nikon D3500
- Panasonic LUMIX S5
Best Microphones for Shooting a Video Case Study
If your video doesn’t look 100%, you can still get away with it. But if your audio isn’t near 100%, your entire effort could go to waste. Audio is very important for case study videos so it’s best that you invest in a microphone that suits this purpose. I recommend a Lavalier mic. They are super easy, very sensitive, and pickup great voice sound. Boom mics are my second recommendation, but since they require someone to constantly hold it up, it’s more difficult with a smaller team.
The trick with lavalier (lav) microphones is the positioning on the body. You want to set it in the middle of the chest, at the sternum, and face it upwards. You’ll also want to ensure it’s not getting interrupted by your subjects clothing or hair.
Once the microphone is set, it’s best to test the audio levels. Have your subject do some talking while you record the audio. We used an iPhone as the recording device with the lav mic plugged into it. Worked like a charm.
Lighting Setup
Lighting is fundamental to video and photography because it creates the visual tone and atmosphere. It’s the foundation that helps audience focus on areas of the frame by guiding their eyes. It can subconsciously reflect the mood of the subject and reflect their emotions.
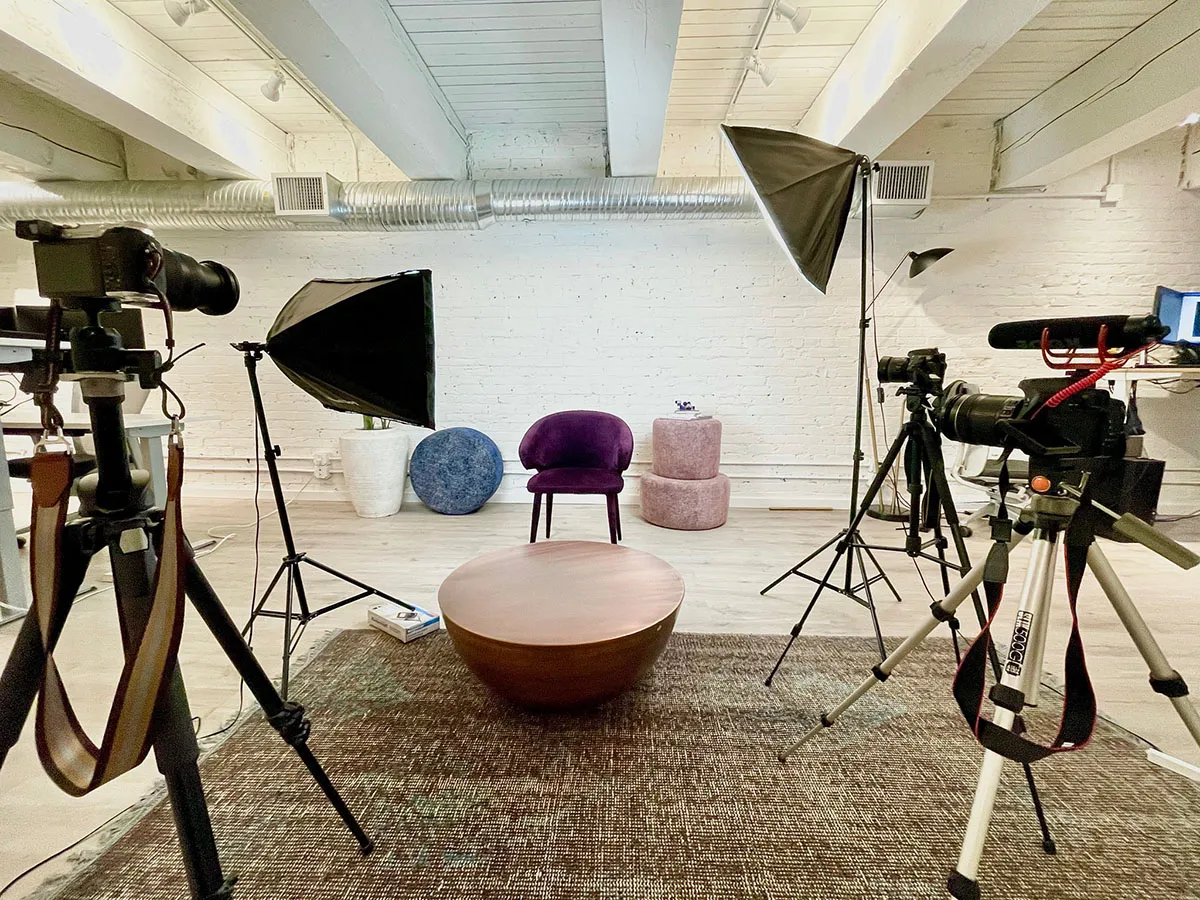
For our use case, you’ll want to follow best practices on how to light for a video interview. This includes lighting your subject from three different angles, known as Key, Fill, and Back light.
BorrowLenses has a great writeup on lighting for an interview. Here are some pointers:
- Location is everything. What ambient light is already in the scene? What does the space look like? Lots of color? Bright? Dark?
- Shoot for soft lighting, where there’s minimal shadows on the subject with an even illumination.
- Combine, bounce, diffuse. Use these tactics to find the lighting result that works for your shoot.
Interview Questions
To get the best out of your subject, you’ll want to make them comfortable. People will have varying degrees of comfort in front of a camera. If your subject is not comfortable, their responses will not seem natural and you may end up not having a lot of great content to share.
Keep your questions simple and focused. Provide the questions to your subject ahead of time so they know exactly what to expect and have a chance to mentally prepare.
The questions can vary depending on your needs but there are some fundamentals that should be asked, and I covered some of them in my How to talk to users and validate product feature requests posts.
Nerves get the best of people. Even with preparation. It’s definitely worth going through the interview twice, with a short break in-between. This helps them gather their thoughts and their answers will be that much better and fluid the second time around. It also gives you additional footage to edit with.
Storyboarding

Pre-shoot Setup
It’s best to set up your equipment a day before the shoot and test out all your audio and video equipment. You can test out the locations you’re going to shoot and see how everything looks and sounds. This way you’re maximizing the time with your subject by focusing on the content they will be creating for you, and you have the added assurance that it will look and sound great.
Many thanks to our friend Hossein Rajabi for being an excellent stand-in https://www.youtube.com/watch?v=5mrf7X4dZ78
Editing a Video Case Study
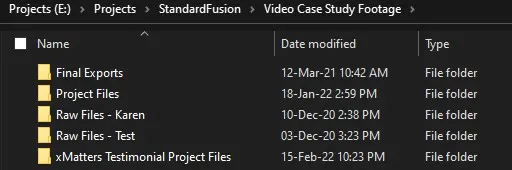
Keep your project files in order so it’s easy for you or someone else to pick up where it’s left off. Name your folders clearly. Keep the project files hierarchy logical and clear. Clearly label footage, timelines, sequences.
The challenge in editing is figuring out how to piece it all together. To help, it’s best to get a transcript of all the audio, with timecodes, and put together a story with from those transcripts. This will give you a starting point and direction for how you want your video testimonial to come out and will save you lots of time searching for sound bites.
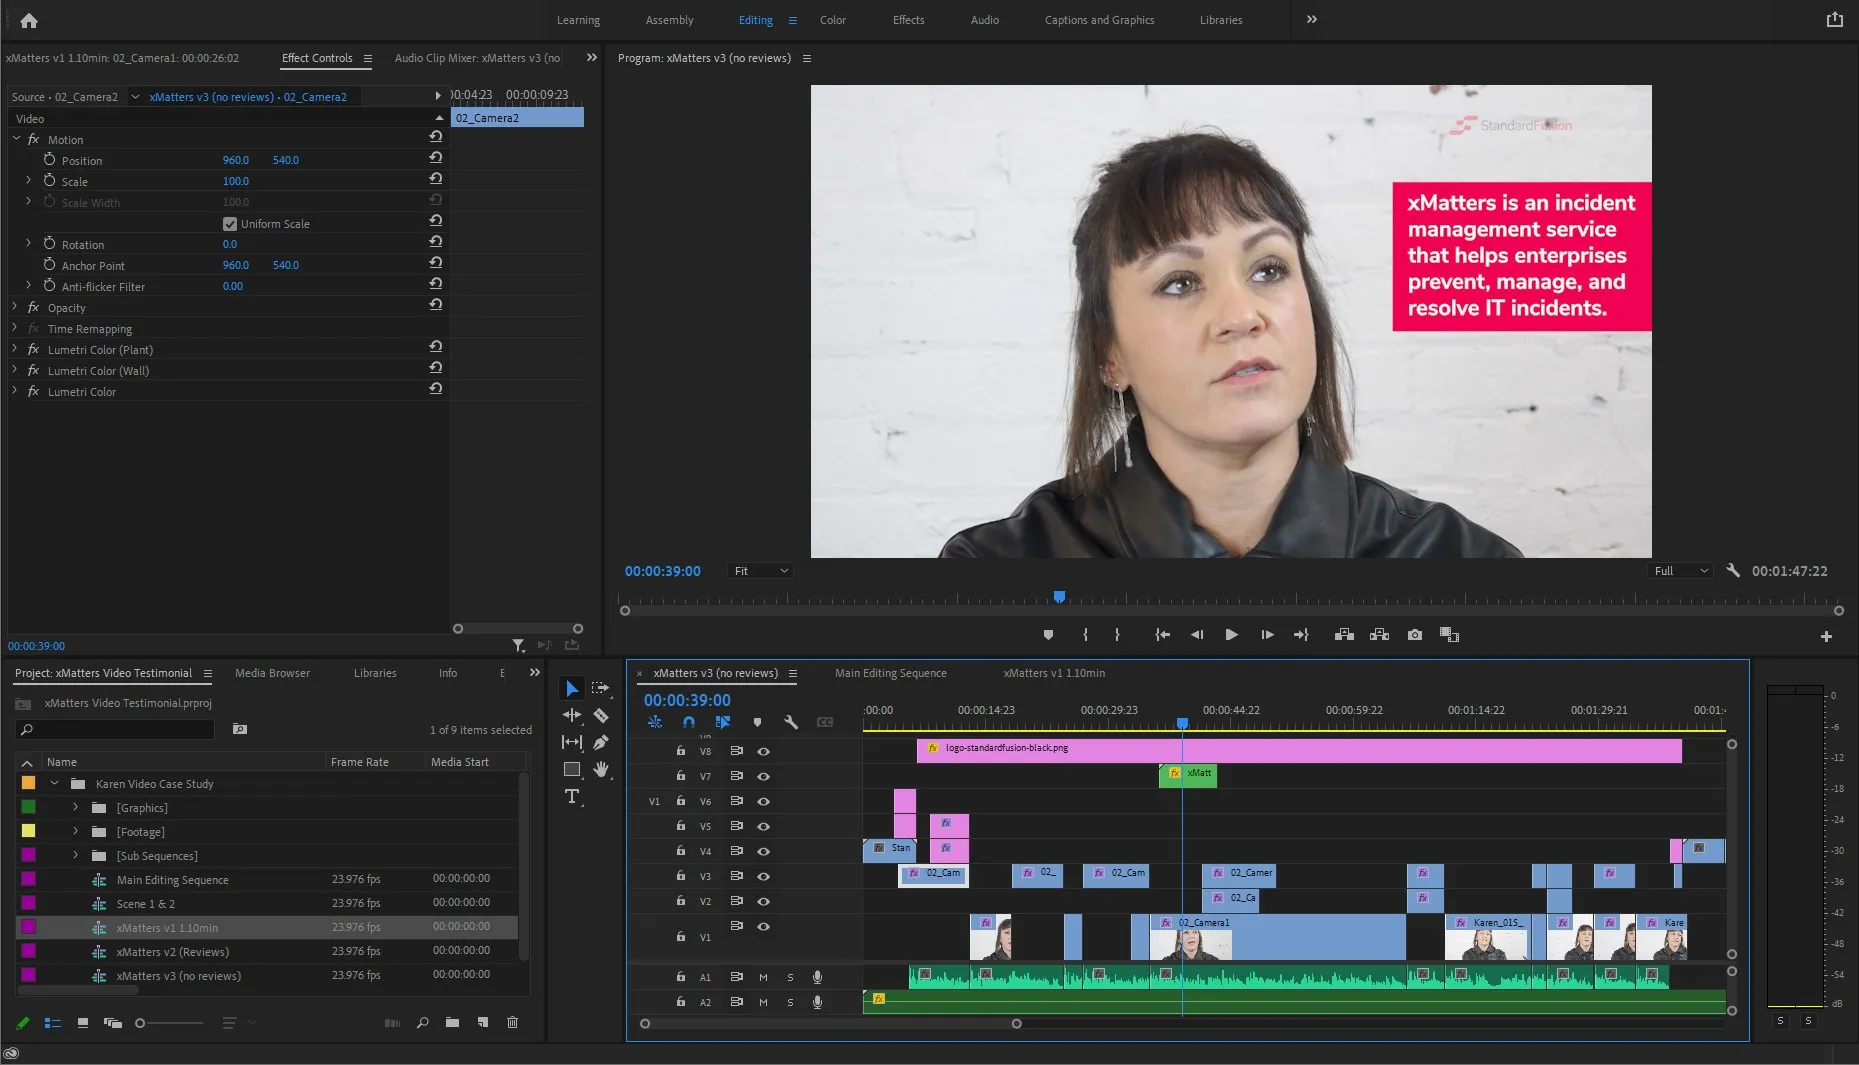
Final Product
We ended up with three versions of the testimonial for different use cases. One that’s very short for ads, one that’s around 60 seconds for landing pages, and a final in-depth one that runs nearly 5 min that’s used by the sales team for specific use cases.
https://www.youtube.com/watch?v=oRB25JsLVyg
Shout out to everyone at StandardFusion that helped on the film shoot and editing and Karen Meohas for agreeing to film her testimonial. ❤️